


I’m Tracy Benjamin aka Tracy Shutterbean. I'm a food stylist & photographer based in the San Francisco Bay Area.
READ MORE


ETSY SHOP
CURRENTLY 2024 WORKBOOK

FOOD JOURNAL FOR SALE

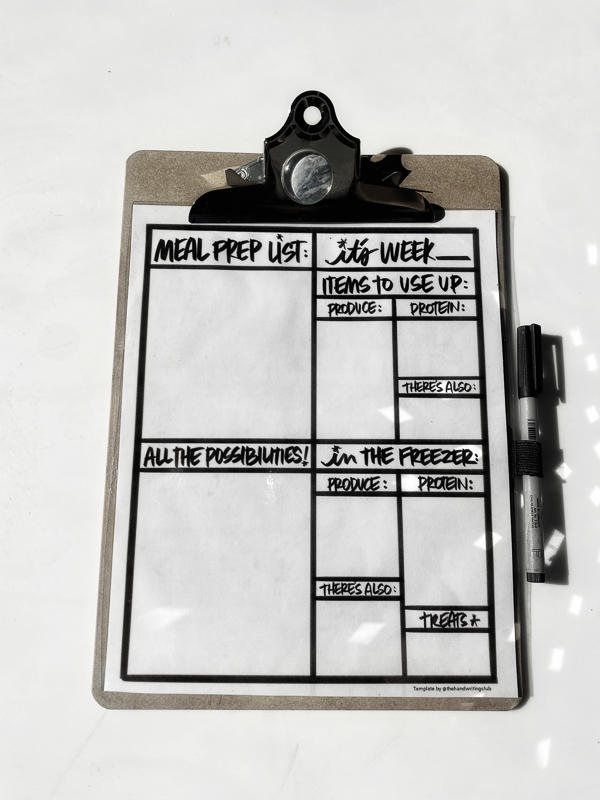
MEAL PREP LIST PRINTABLE
TIME TRACKING PACK!

Meal Prep Pack

Intentions for the Week Planner

INTENTIONS FOR THE WEEK PDF


FAVORITE PRODUCTIVITY TOOLS