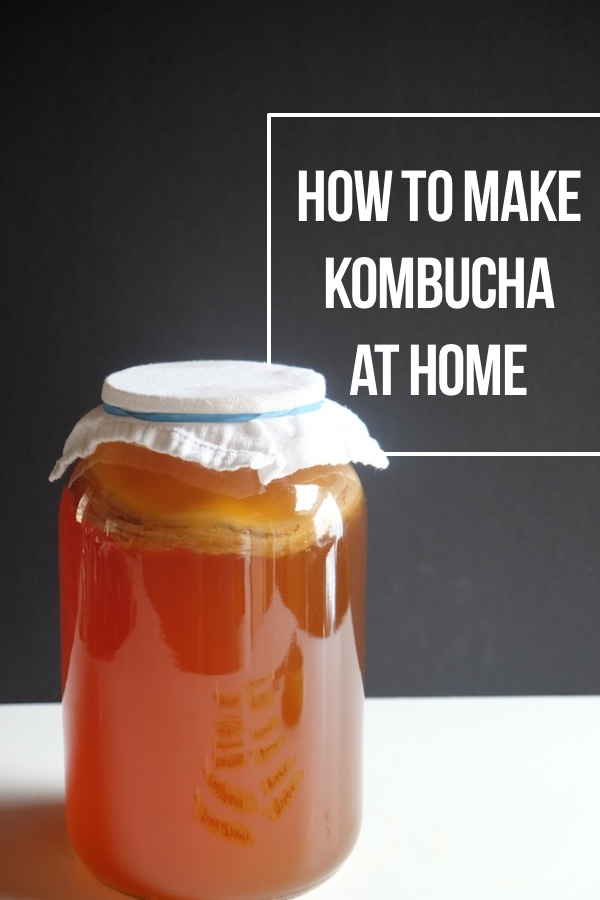
How to Make Kombucha At Home

Ever wonder what's involved in making your own kombucha? Check out the tutorial on Shutterbean.com !

New post: How to Make Kombucha At Home

I started brewing my own kombucha a few months ago and was instantly hooked. Considering that a bottle of kombucha goes for about $4 in my hometown, I’ve saved quite a few dollars and I’ve been able to enjoy a bottle of kombucha almost every single day of the week. A lot of readers have asked how I do it, so I thought I’d show you! I’m by no means an expert, but I’d like to show you how easy it is and how you shouldn’t be intimidated by the process.
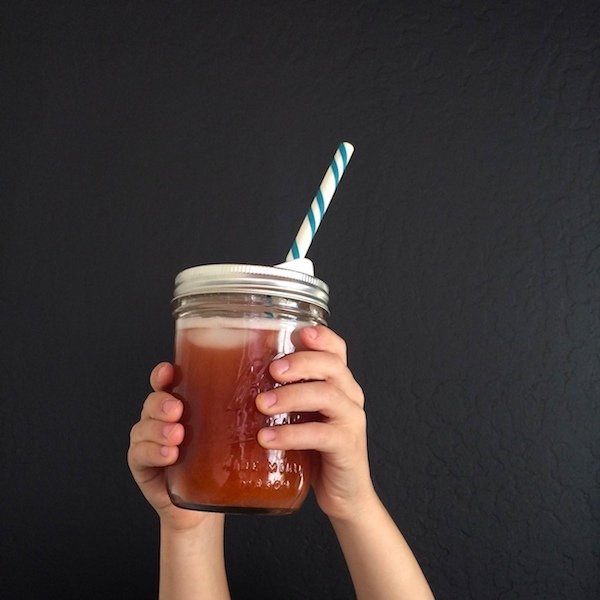
DIY Kombucha // shutterbean

With the continual brewing cycle system, I brew my kombucha every Wednesday. Each brew yields 6-7 bottles depending how much juice I add in the batch. Pretty cool, huh?
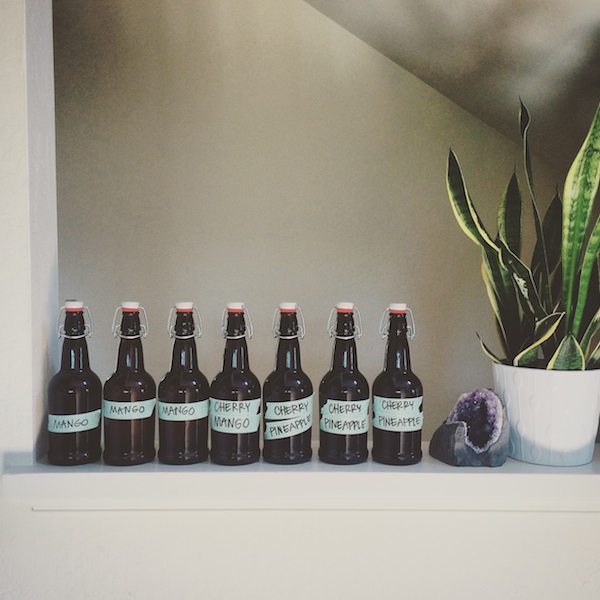
DIY Kombucha // shutterbean

Let’s check out the brewing process first!

DIY Kombucha // shutterbean

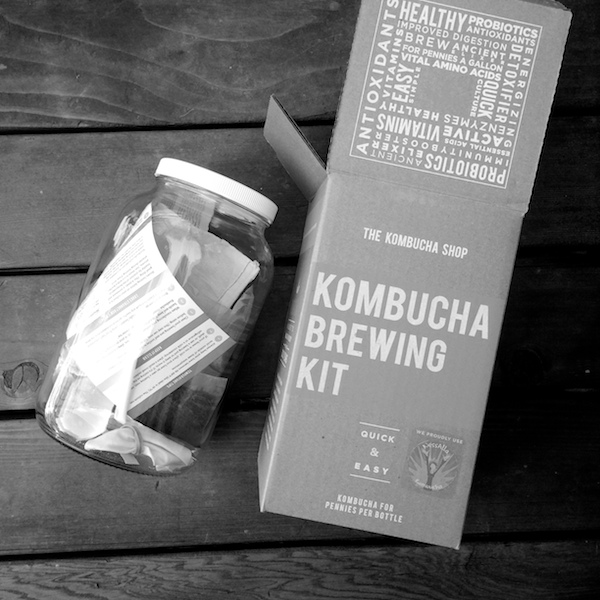
Because I was feeling overwhelmed with all of the supplies and research, I ordered this Kombucha Starter Kit  from Amazon. I highly recommend it if you’re not sure what items you need.   I’ve added another brew jar to my collection because I eventually want to brew more that one batch per week. In the meantime, it’s nice to have an extra gallon glass brew jar cleaned and ready to go for my next batch.  What I like about this kit is that it includes a jar, a scoby, tea, sugar, pH level strips, cheesecloth + rubber band, a straw and a sticker thermometer that goes on the side of the jar. All of the essentials to get you brewing in no time. After that, you’ll only need to have sugar and tea bags on hand for each brew cycle.
DIY Kombucha // shutterbean

Speaking of essentials, let me show you what’s involved.
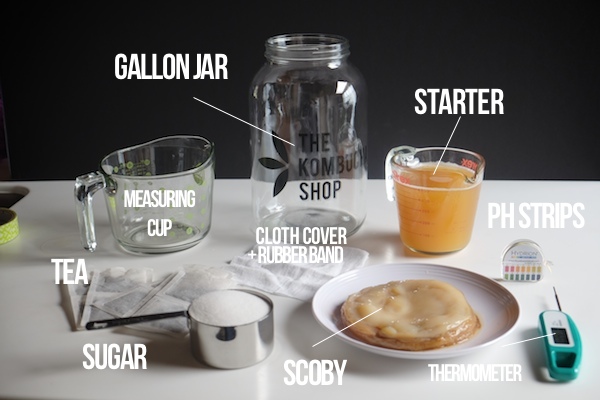
DIY Kombucha // shutterbean

SCOBY!!  What’s a scoby, you ask?  A scoby is “A symbiotic colony of bacteria and yeast, or SCOBY is a commercial and popular (rather than scientific) term used to refer to mixed cultures of bacteria and yeast present during production of the fermented beverages such as kefir and kombucha.” – wikipedia

Don’t be afraid. It’s not going to hurt you. It’s actually pretty fascinating stuff.

Casey was worried that our kitchen would smell like kombucha but it doesn’t!  No smell at all.
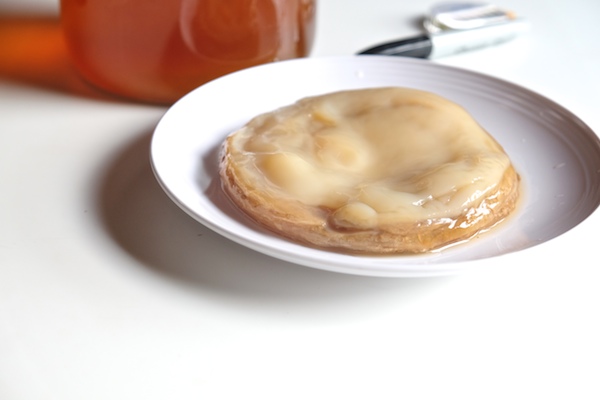
DIY Kombucha // shutterbean

While most recipes say to brew tea in a pot of boiling water, I’ve found it easier to boil water in our electric tea kettle.  I pour the boiling water  it into a large measuring cup for the sweet tea brewing process. There’s sugar in the mix. It feels like less cleanup to me.
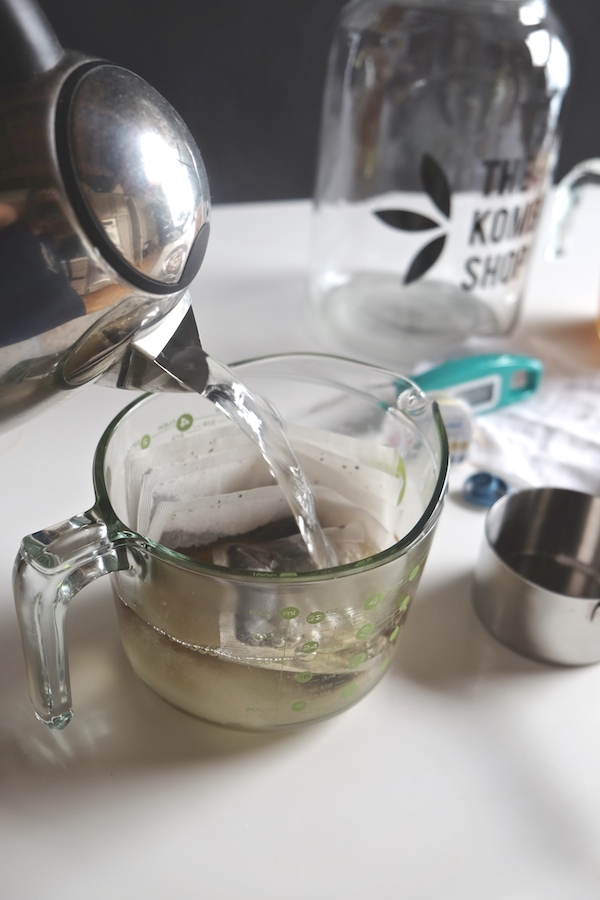
DIY Kombucha // shutterbean

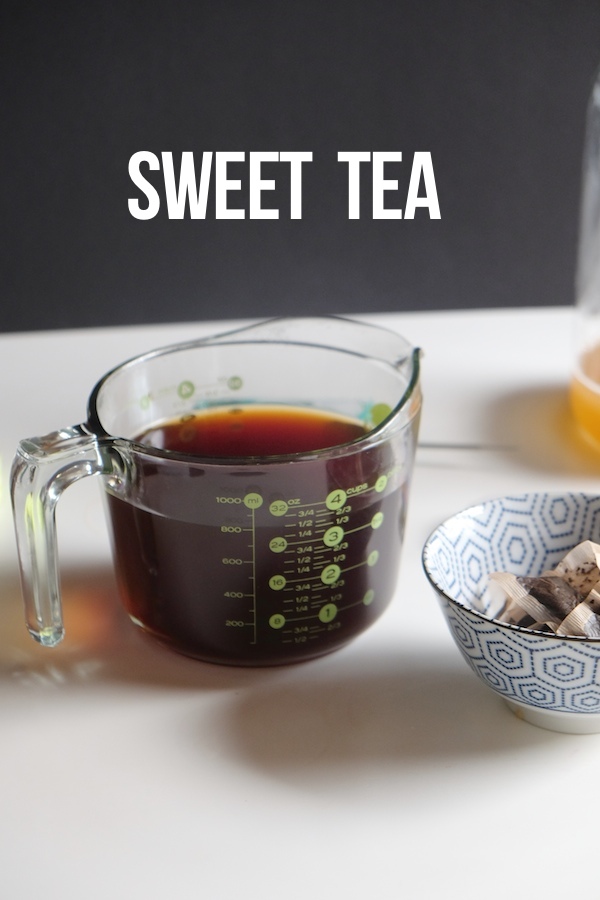
Look at that! We have sweet tea. One cup of sugar seems like a lot, but we’re giving the yeast something to eat. I’ve read that most of the sugar gets eaten, so your final kombucha has a lot less sugar.

Anywho! Make sure the sugar is completely dissolved.
DIY Kombucha // shutterbean

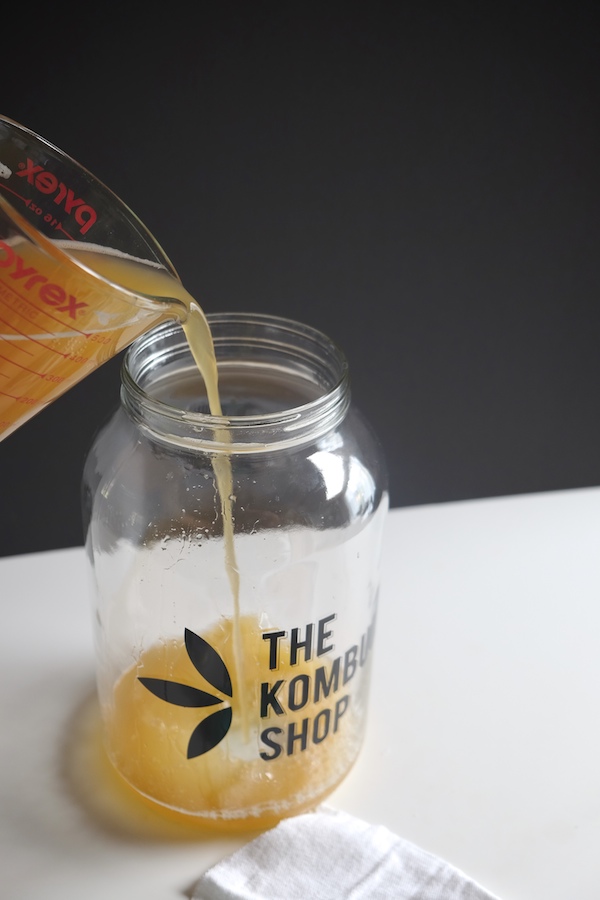
Let’s put the kombucha starter into our 1 gallon glass brew jar. Sometimes I add this last sometimes I do it at the beginning. It’s all going in the same place. I do this so I can easily clean up as I go.
DIY Kombucha // shutterbean

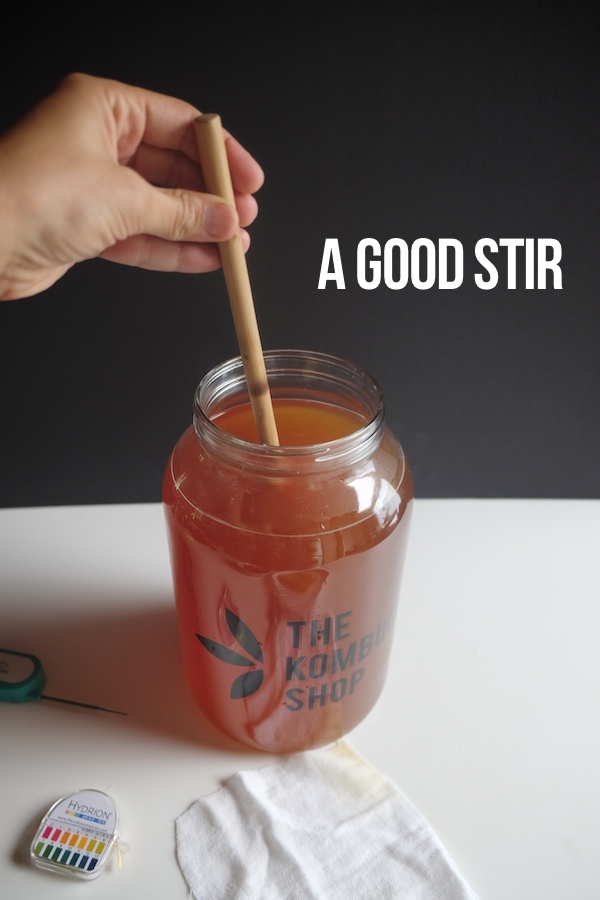
Now that we have added in the tea and filtered water to the kombucha starter, we give it a good stir.
DIY Kombucha // shutterbean

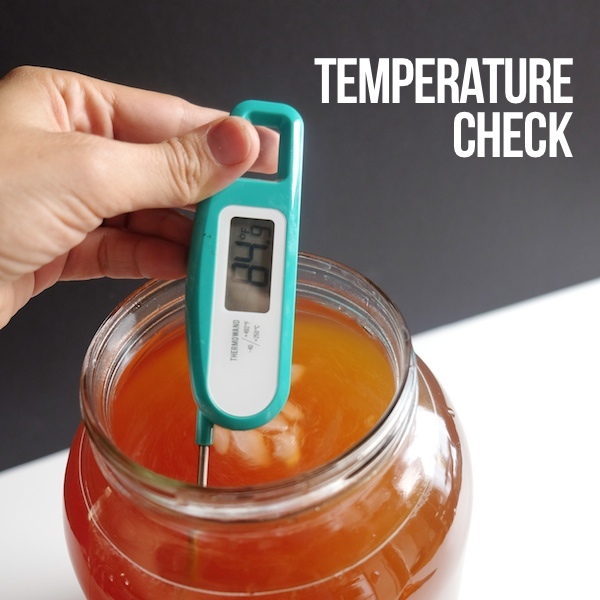
Temperature range should be between 68-88F.  I find that throwing a few ice cubes in the brew will help lower the temperature.
DIY Kombucha // shutterbean

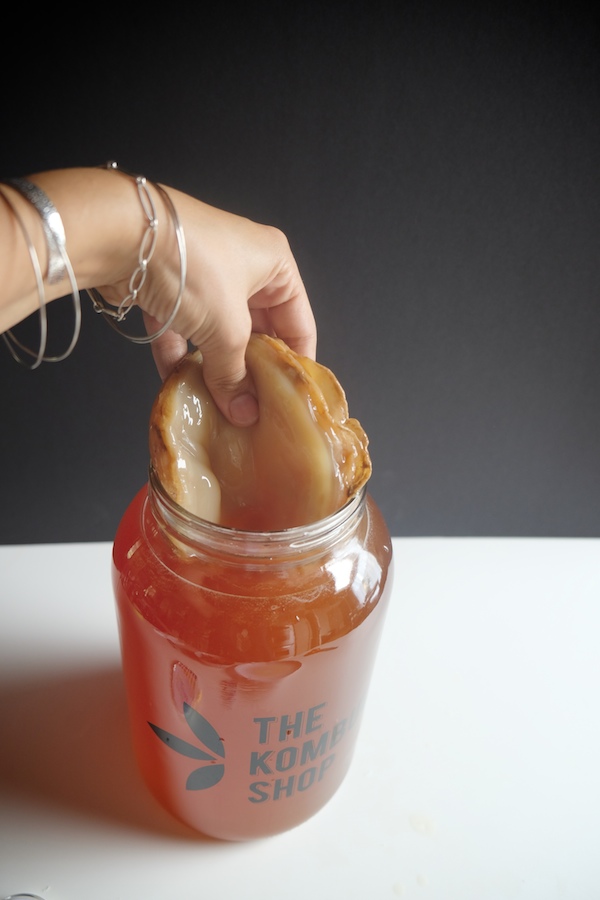
In goes the scoby. Always make sure you have clean hands when you’re working in the kitchen.
DIY Kombucha // shutterbean

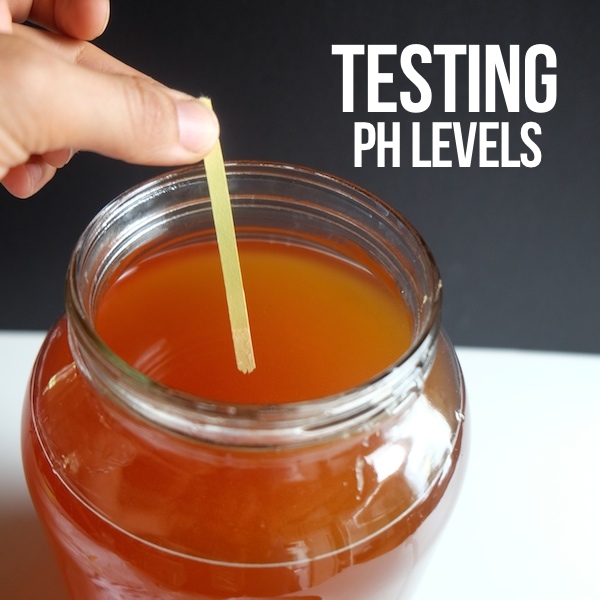
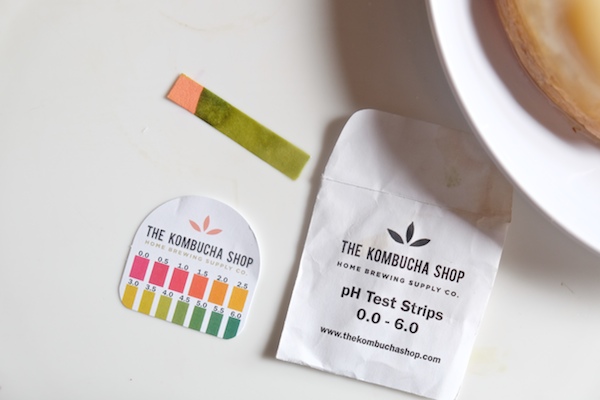
The pH Levels are super important to home brewing. We want to make sure that the tests read 4.5 or below.
DIY Kombucha // shutterbean

I like that the Kombucha Starter Kit came with test strips.

I, unfortunately, spilled kombucha all over them (did you know that I’m messy in the kitchen? Go figure…) so I bought this pH strip kit off of Amazon. I like it because it’s like a roll of tape and I only use as much as I need without getting kombucha all over it.
DIY Kombucha // shutterbean

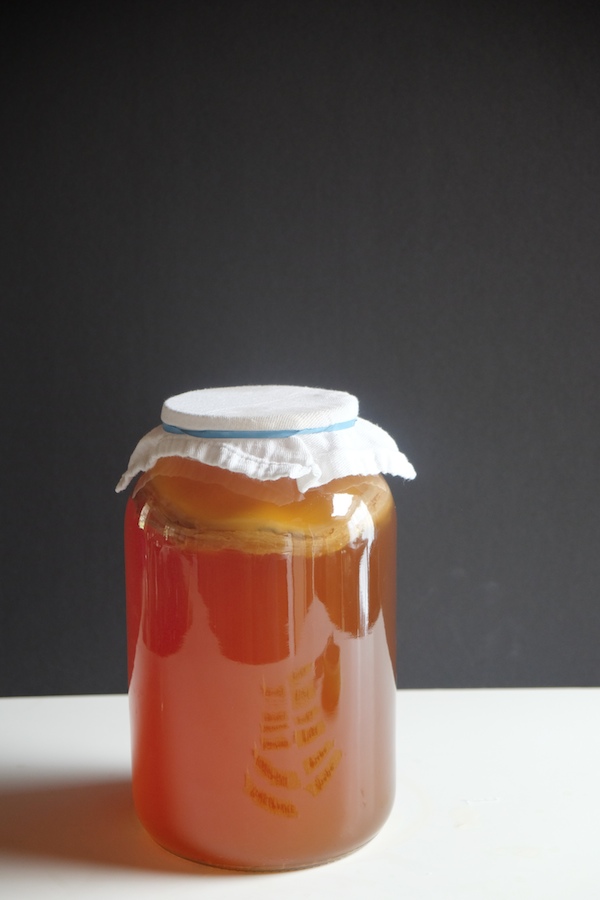
Now the kombucha goes off to a warm place (I put it on top of our fridge) for 7-10 days.

We put cheesecloth to allow airflow, but we also want to protect the kombucha from fruit flies (I have yet to see one).

Byeeeeeeee bucha! See ya real soon.
DIY Kombucha // shutterbean bottling

And we’re ready to bottle!

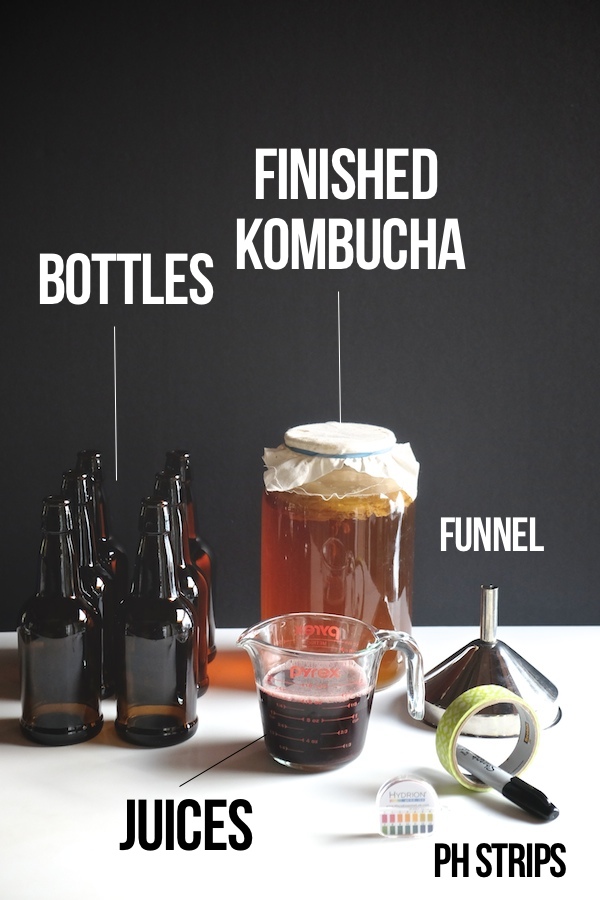
This is what’s involved in bottling—
DIY Kombucha // shutterbean

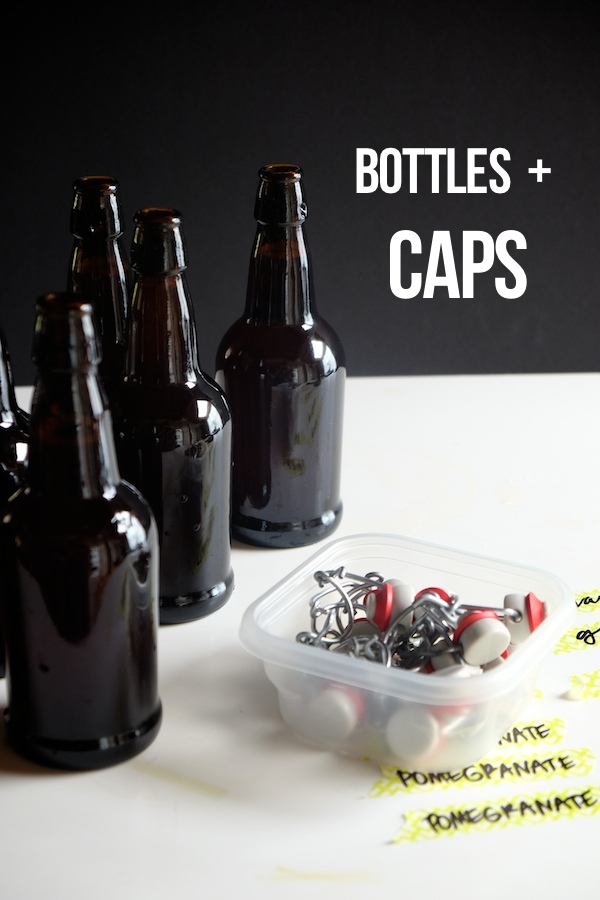
Bottles should always be clean. I like using amber bottles because you don’t see any of the scoby floating around. I think they also look pretty legit too! If you like seeing the color of your kombucha, give clear bottles a try.
DIY Kombucha // shutterbean

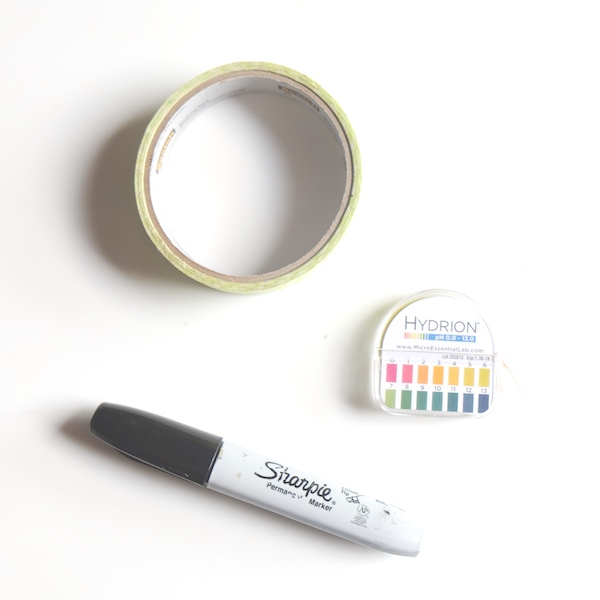
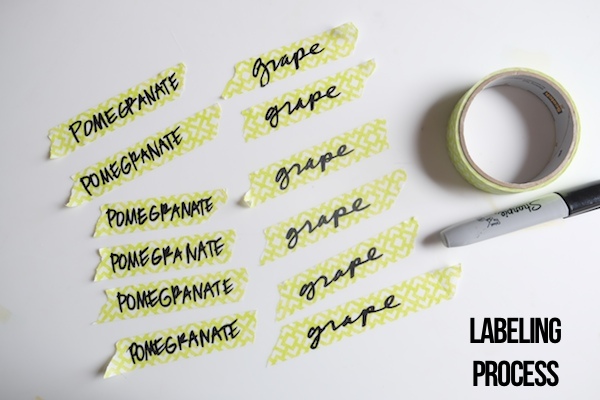
I love using this washi tape and a sharpie to label my kombucha.

Also, the pH strips are essential because you wanna make sure your bucha is ready to brew before you start.

Finished kombucha should be at a pH level range of 2.5-3.5.
DIY Kombucha // shutterbean

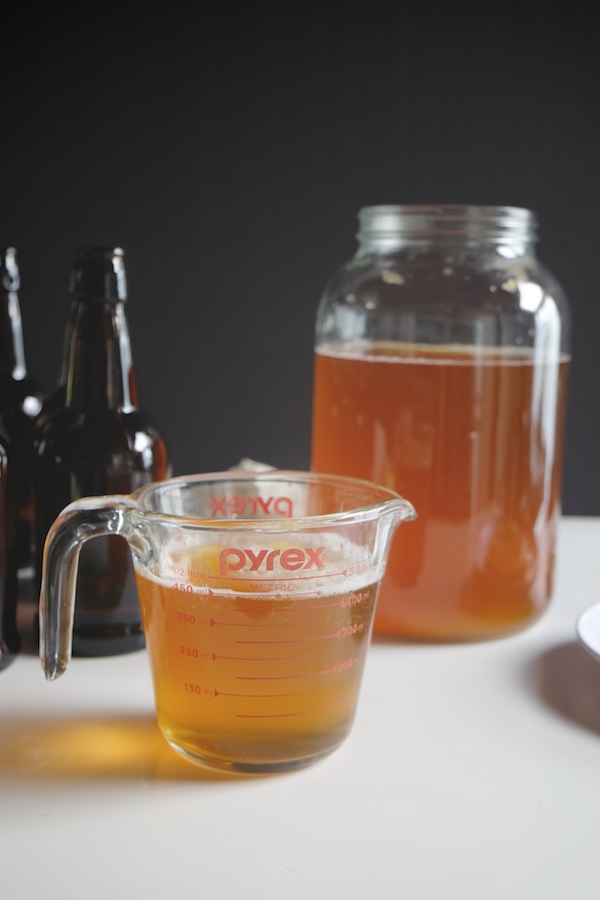
When I’m ready to start, I pour out 2 cups of the kombucha base to use in my next batch of kombucha.
DIY Kombucha // shutterbean

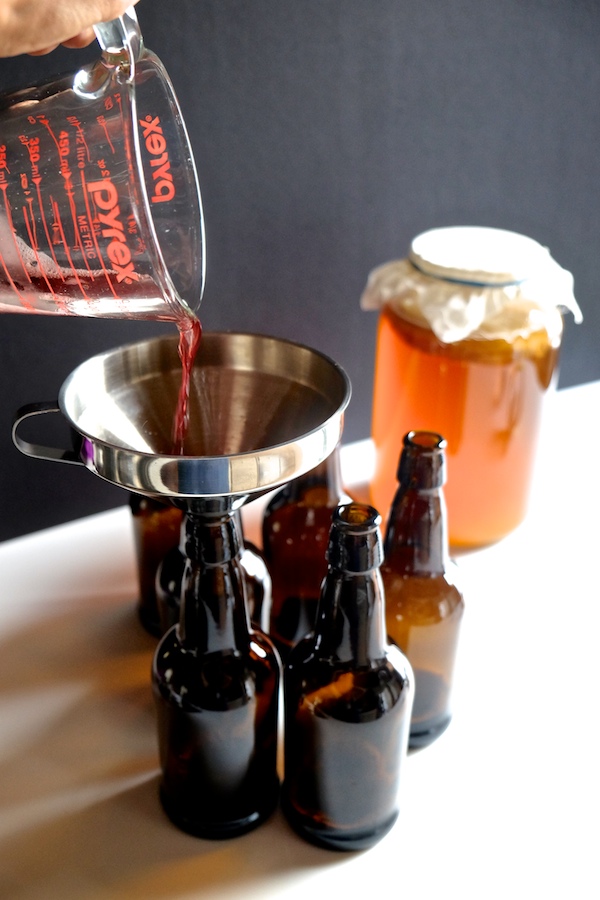
I put juice into the bottoms of all of the bottles.  The juice I use is store-bought and I mostly buy organic juice. I like that I can control how much I put in. I usually end up putting 1/4 cup into each bottle.

I usually do this in the sink so I can avoid spilling all over my kitchen counter.
DIY Kombucha // shutterbean

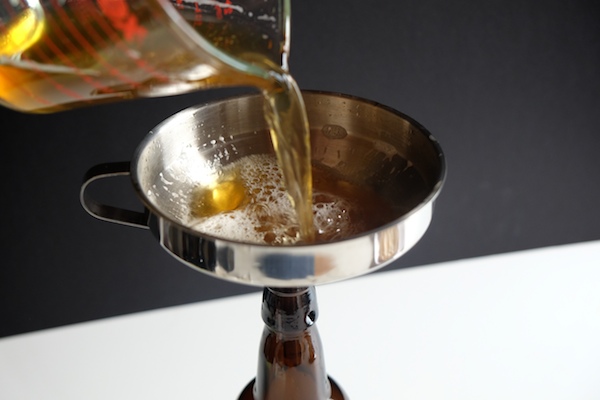
We follow with the kombucha. Sometimes I pour directly from the brew jar or I’ll transfer the kombucha into a pyrex measuring cup for better accuracy. Each bottle holds up to 16 oz.
DIY Kombucha // shutterbean

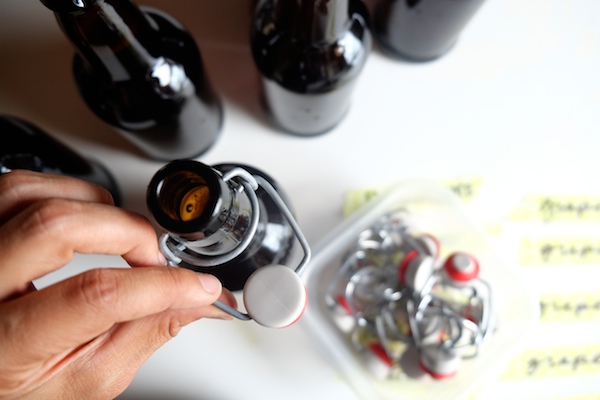
Lids get fastened.

DIY Kombucha // shutterbean

Labels get made. Make it fun. I like to mix my handwriting for extra flair.
DIY Kombucha // shutterbean

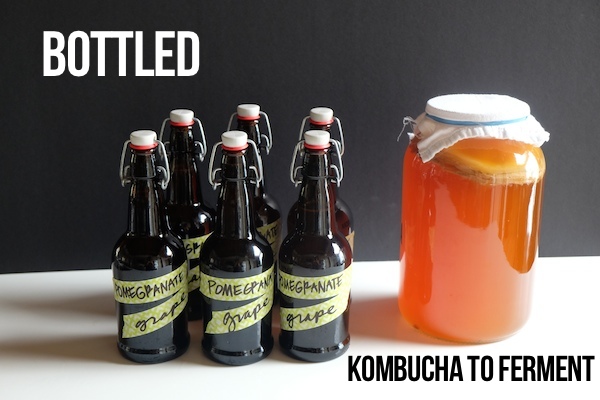
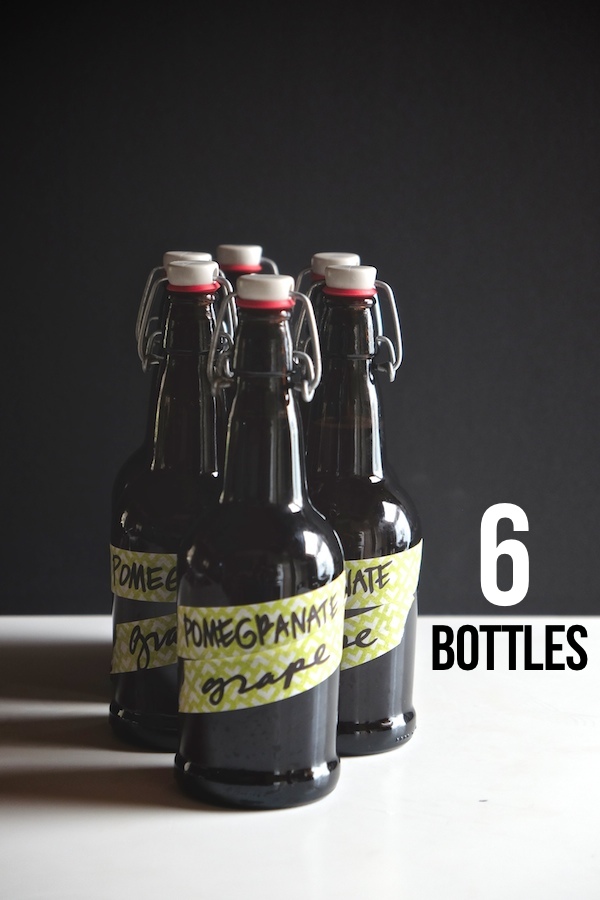
Now we have 6 bottles that need a day or two to ferment. This means it won’t be refrigerated until it’s ready. Then we pop the bottled kombucha in the fridge and they’re ready to go.

The kombucha in the jar goes on top of the fridge and we start this whole process again in about a week. Wednesday is brew day at my house and the whole process takes me 20-30 minutes.
DIY Kombucha // shutterbean

It’s nice having hand-labeled kombucha in my fridge.
diykombucha

The fridge feels empty when I’m almost out. It’s cool though because there’s always another batch in progress!

DIY Kombucha // shutterbean 

  • Mango
  • Mango Ginger
  • Mango Pineapple
  • Mango Cherry
  • Pineapple Ginger
  • Pineapple Cherry
  • Grape
  • Pomegranate Grape


If you’d like to flavor your own, you can! After you have brewed your kombucha, add fruits to a jar and fill it up with the brew. Let it steep/infuse with the fruit for an additional 1-3 days until you achieve the flavor you desire. I like using juice because it makes the process quicker.

DIY Kombucha // shutterbean

There are many resources out there to brewing your own kombucha. Through the process, I’ve referred to the following books & websites when I’ve needed to troubleshoot. The process is quite easy and I’ve had really good luck so far.  Happy Brewing!


[/donotprint]

Homemade Kombucha Tea

Items you will need for brewing:

Bring 4 cups water to a boil and pour into a large measuring cup. Add teabags and sugar and brew for 5-6 minutes. Give tea a good stir and make sure the sugar has dissolved. Remove teabags and pour tea into galloon brew jar. Fill the jar with cold filtered water, making sure to leave a good 3 inches of space at the top. The sweet tea solution should be in the temperature range of 68-88F. Add in the kombucha starter and the scoby. Give the mixture a good stir and test the pH levels with the test strips. The pH level should read 4.5 or below. If it does not, add 1 tablespoon of white vinegar and test again.

Cover the jar with cotton and secure with a rubber band. Jar should be kept in a warm place, out of direct sunlight with plenty of airflow. Do not move for 7 days.

After 7 days, you should see a new growth on your scoby. Dip a straw into the kombucha and test for doneness. Brew time can take 7-21 days depending on temperature. If the mixture is too sweet, add more time to your brewing process. If the mixture is too tart, adjust sweetness when bottling with additional juice. The finished kombucha should range 2.5-3.5 pH level wise.

Items you will need for bottling:

Reserve 2 cups freshly brewed kombucha for your next batch and set aside. Fill each of the 6 sterilized bottles with about 1/4 cup juice using a funnel. Continue filling each bottle with the brewed kombucha, making sure to leave about 1 inch empty space from the top. Seal each bottle and set kombucha aside in a dark area for one day to let the fermentation take place. Kombucha is now ready to drink. Transfer the bottles into the refrigerator. Kombucha will keep for up to one month.

Notes:

I’ve found that the longer you let your kombucha ferment, the more carbonated it becomes. If you open a bottle at room temperature you’ll see even more carbonation.


  • Shauna

    Thanks so much for this. Ive attempted kombucha but its so overwhelming when you’re first starting. I love how clear your instructions are and the photos always help! Thanks for the links, too. Im going to give it another try…thanks!

    • Shauna

      Just a tip…I used cheesecloth for my last kombucha attempt and fruit flies got through, even though I used 3-4 layers of it. They are tiny and can get through the tiniest of holes 😉 Im going to try a coffee filter or a cotton cloth this time…

      • Tracy

        The cheesecloth I use is a really fine mesh. I got it a little dirty and then cut up an old napkin and have been using that ever since. So cotton cloth is great too!

  • Chelsea

    Fascinating! I have always even been scared to try it because I don’t quite understand that bacteria bit that looks like an organ… haha but I feel a little more confident to at least try kombucha now.

  • Alex

    It seems so much simpler than I always thought! I’ve started brewing water kefir at home, which is a very similar process, but I always though kombucha would be a lot more complicated. Is your SCOBY growing/reproducing? Can a SCOBY lie dormant for a time (putting it in the fridge maybe) if you need a break?

    • Tracy

      It’s reproducing like whoa! I put some of it aside and have kept it in the fridge covered in kombucha for the past three weeks. When I start getting another jar going, I’ll probably use that as my base.

  • Meg

    Yay, kombucha! I’ve been brewing my own since the fall using a kit from Kombucha Brooklyn. I quickly upgraded to a 2-gallon jar with a spout that makes things even easier. We mostly use fruit to flavor – frozen works perfectly. Our favorites are strawberry and raspberry. I’ll have to get my hands on some mango juice, though. Our attempt at flavoring with frozen mango was a fail.

    I’ve tried and had no luck with secondary fermentation. It’s lightly carbonated when it comes out of the jar but the carbonation disappears when stored, even in flip-top bottles. Does yours become more carbonated with time?

  • Ashlyn

    I’ve never tried kombucha but I am growing more and more curious! This post was so helpful in understanding the process! Thanks for sharing!

    • Tracy

      It’s definitely not for everyone. My husband HATES it 🙂 But Cooper and I are kombucha buddies so I have someone else dipping into my stash.

  • Averie @ Averie Cooks

    I’ve been brewing kombucha since 2010 and I love homemade so much! It’s just so much better than storebought. Yes it’s more work, and sometimes I let it lapse a little but as long as you have a scoby’s you can always start again after a trip or something. What a wonderful tutorial for anyone wanting to get into it!

  • Kayla

    I love this tutorial. Definitely make the process less daunting!

  • India

    I’m not a kombucha girl, but I love this post. So organized. It makes me want to make some. Way to go! PS Love the look for the new site.

  • Abby

    This is fascinating, Tracy! Seriously, so impressive & incredible. <3

  • Ginger

    Awesome! I may have missed this, but what happens to the scoby once the batch is ready? Do you just plop it in a fresh jar or rinse it? Thank you for sharing this tutorial! 🙂

    • Tracy

      You put the scoby on a plate while you’re working on the new batch and then you put it in the new batch to be brewed. It’s a continual process. It grows another layer each week.

  • Megan

    I love kombucha, but I think I’m one that will have to stick to the outrageously pricey store-bought variety. I..can’t…get…past….SCOBY! Weak stomach I suppose. Those things creep me out, and I feel like they are plotting to take over the world.

  • Teri

    Thanks Tracy!
    I’ve been making kombucha for over a year now and found that your tutorial is the best! I am pinning this to give to my friends when I give away SCOBYs once my “SCOBY hotel” gets full. I save my baby SCOBYs in a straight side glass bowl with a lid just in case something goes awry with the ones I am brewing with. Also, I use unbleached coffee filters or thin cotton to cover my jar while brewing. Thanks!!!!

  • Do You Kombucha? | blah blah birds

    […] Here, Tracy shows us how and has already tried a variety of flavors […]

  • Maureen

    This is a great tutorial and I’m just about ready to give it a go with the scoby given to my by a friend. I bought bottles from Ikea and then found that they are too tall for our fridge. ugh. Can the kombucha stay at room temp after bottling?

    btw, I make my own yoghurt after a Bulgarian friend gave me some starter. Love love love it..And it ferments in a small cooler. No worrying about temps. 🙂

    • Tracy

      It should stay at room temperature for about a day or two for the secondary fermentation and then it goes in the fridge.

  • Holly

    That scoby thing…ahhh!!!

  • Karen

    I was inspired to make kombucha WAY back in your podcast with Joy. I put sliced up ginger pieces in mine and it tastes like ginger ale. YUM!! Love everything you do on the web. I am so inspired by you.

  • GROCERY LIST 44 – Wit & Vinegar

    […] like the kombucha but I know my sister loves it. I think christmas will be a kit and a link to Tracy’s how to. I’m still intrigued/very scared by that scoby […]

  • Kelly

    Thank you for sharing this!! I definitely want to try this some day!

  • Friday Things | Running High

    […] Have you ever brewed your own Kombucha? After reading Tracy’s post about it, I feel like it’s something I may want to try. I love Kombucha but man! $4 a bottle […]

  • Ashley

    Awesome tutorial! I’ve been on the fence about brewing my own kombucha, but that meant I’ve been stingily drinking store bought bottles over the course of a week and hoarding it when I find it on sale. Plus your flavors look delicious! And is it just me or does the SCOBY look like a pancake? I mean, I’m not going to take a bite, but if someone walked in and saw that on a plate, would they? 😉 Love the new site look too! You rock!

  • Jen

    Does this Kombucha become fizzy? TIA!

  • Lauren

    Do you have a favorite kind of black tea that you use?

  • Kari

    I made my own (2nd successful batch!) and it turned out fantastic. I then did a 2nd brew in smaller bottles with fresh Mango Puree. I let it ferment an additional 4 days and now have a congealed blob o’ mango. Is that normal? It didn’t go away when I shook and it wasn’t a baby scoby. Any ideas or should I not even be concerned?

    Thanks so much for your help!!

    :-/

  • Indoor 'Gardening' Projects for Winter - Happy Healthy RD

    […] Another big project we have been working on is brewing our own kombucha.  I got Derek this kombucha starter kit for Christmas.  I found the process a little intimidating and the kit made the whole process really simple.  Our first batch is already bottled and is in the carbonation phase.  It’s not a very beautiful process and I admit the scoby (symbiotic colony of bacteria and yeast) still grosses me out but it does not smell at all and is pretty amazing to see how fast the bacteria multiplys.  Cheers to probiotics!  I got the idea for the kit from this post on Shutterbean.com. […]

  • laurasmess

    This is soooo super cool. I hardly drink kombucha cos of the costs involved of buying it pre-bottled, but I reckon I could handle this brewing process! The scoby is a little… hm, interesting… but the probiotics are worth any gross-factor! Love your labels too. I’ve been a fan of your labelling processes since seeing your Shutterbean Lunchboxes on Insta (big thumbs up!). Thanks for filling us in on this awesome probiotic drink!

  • Theo

    I finally brewed my first batch of kombucha and it was much easier than I thought. I did have an explosion because I let the second fermentation sit outside the fridge too long. But in not deterred! This is such a great substitute for soda. I love knowing what I’m drinking is good for me. What do you do with the extra scobys? Mine are not growing on top of one another. As always, I love your site, recipes and photos.

  • siddhi

    looks something new i will try it thanks for sharing its recpe

  • Alicia `

    Quick note from New York to say that over two years ago this post inspired me to take the plunge and start making kombucha at home. Now I have two batches going at all times and it has become such an easy part of my weekly kitchen routine. My four year old even enjoys it. Thanks!

  • Intentions for the Week - Next Step News

    […] make a batch of kombucha […]

  • Amanda

    Making my first batch right now! How do you add ginger flavor? Is there a juice? Grated? Purée? Thanks!

  • Asha

    Sorry if someone asked this already, but can you use any kind of tea? I was thinking of ginger tea.

  • brewdrkombucha

    thanks for the information

  • My Everyday Life Week 46 - Shutterbean

    […] that and making my own kombucha, it’s getting real hippie in my kitchen (and I LOVE […]

Leave a Comment