Traditions. My life has been full of them, thanks to my mom. But somehow this year, our Thanksgiving isn’t going to be the same. My grandma has moved back to New York, and my brothers will be away so we’re having something very small and quaint at my parent’s house this year. Guess who WON’T be staying up late to clean fancy dishes all night long with her mom? ME! Honestly, I couldn’t be more thrilled. I’ve been craving a breakup in tradition for awhile now. Ever since a few family members past, it’s weird going through the motions, pretending that things are the same.Things aren’t. Life changes! People change! And guess what? So do taste buds!
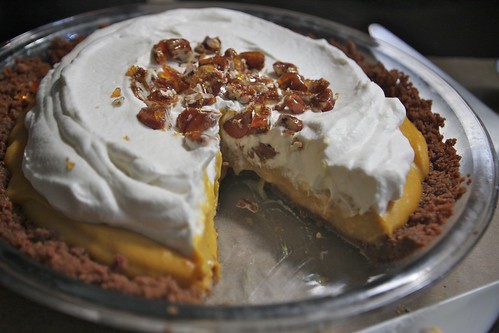
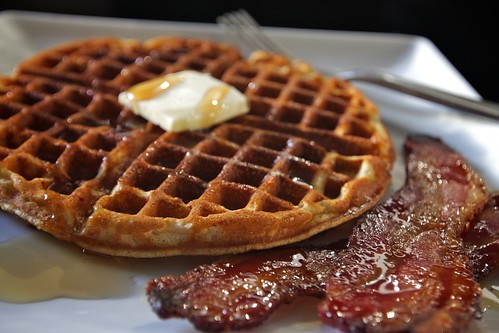
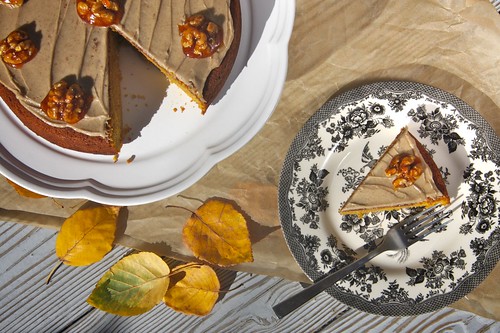
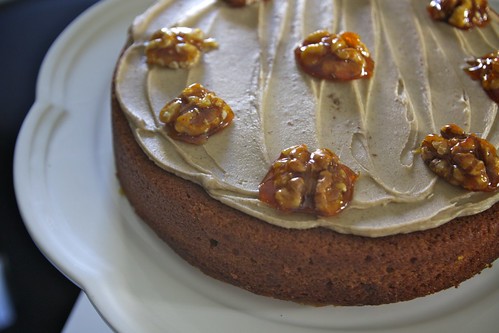
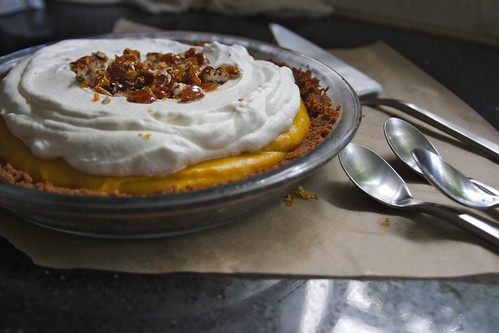
If you are craving a change in your traditional Thanksgiving meal, add this to the mix! It’s a pumpkin CREAM pie with a sprinkling of crunchy chopped candied pecans on top. Ever wonder what it would be like to have a pumpkin pie candy bar? This flavor profile totally nails it. The buttery crunch and ginger spice of the crust is TO. DIE. FOR. It’s kinda like crunchy toffee! The pumpkin custard is creamy & spicy and the whipped cream with pecan chunks resting in the fluff? OUTRAGEOUS! It’s what dreams are made of.
So wake up your guest’s taste buds and offer them something different. I don’t think they’ll miss a slice of the regular ole’ pumpkin pie. And if your Great Aunt Sally scoffs at her dessert plate filled with this pie, make sure you put a lump of coal on her plate at the Christmas table. Why does she have to be such a Scrooge??!!
CONTINUE READING